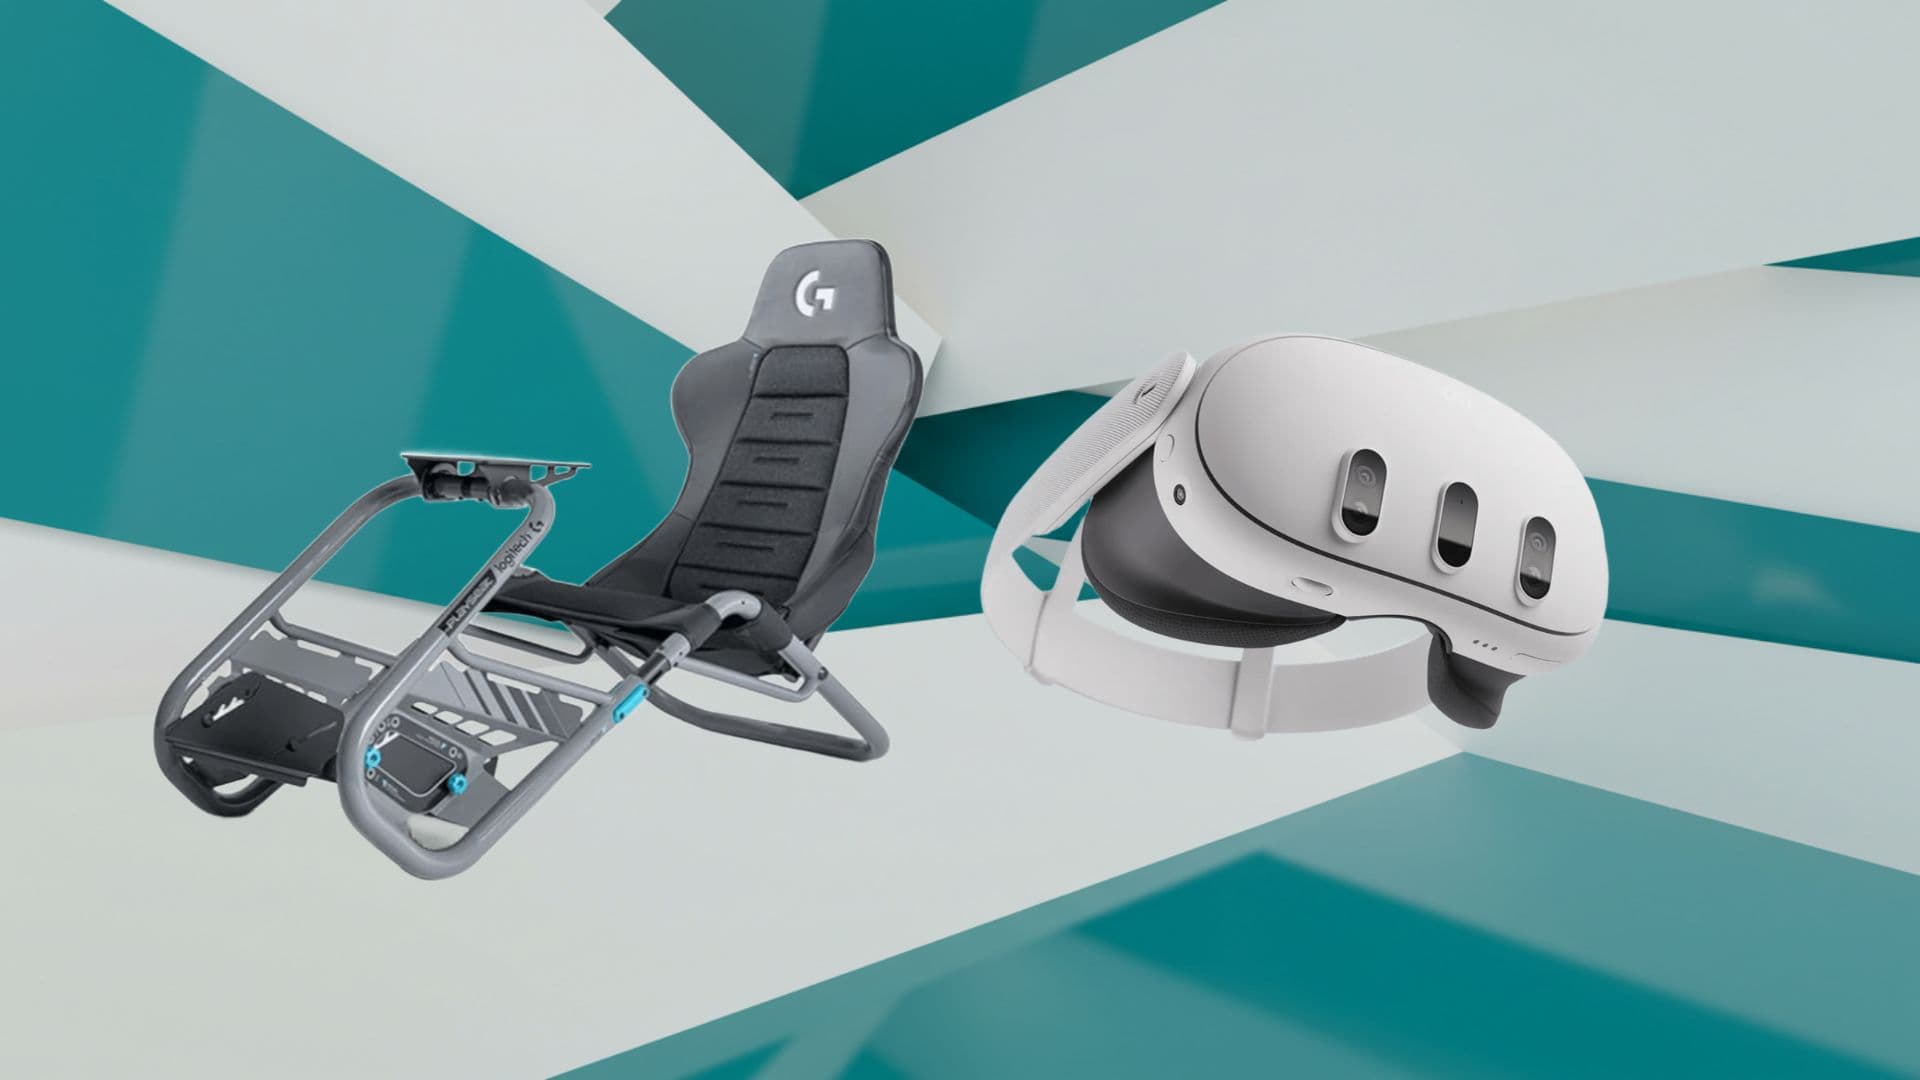
Mastering Meta Quest 3 for High‑Fidelity Sim Racing
Essential steps to transform your VR headset into the ultimate racing cockpit Transitioning from flat‑screen sim racing to the immersive realm of...
Essential steps to transform your VR headset into the ultimate racing cockpit
Transitioning from flat‑screen sim racing to the immersive realm of virtual reality demands not only skill behind the wheel but also a meticulous setup protocol to harness the Meta Quest 3’s cutting‑edge hardware. With its crisp high‑resolution LCD panels, advanced passthrough for cockpit awareness, and low‑latency tracking, the Quest 3 can deliver an unparalleled sense of presence—if properly configured. This comprehensive guide walks you through every stage of the process, from optimizing your PC’s GPU and CPU performance and securing the headset to your rig, to fine‑tuning in‑game graphics and calibrating pedals for razor‑sharp input accuracy. We’ll examine wired versus wireless connectivity trade‑offs, discuss advanced motion smoothing techniques, and outline ergonomic adjustments that sustain comfort over marathon endurance sessions. By integrating empirical benchmarks, proven calibration routines, and practical hardware recommendations, this roadmap equips both seasoned sim racers and VR newcomers with the knowledge to eliminate technical distractions and focus entirely on shaving tenths off lap times in titles like Assetto Corsa Competizione, iRacing, and Project CARS 3.
Calibrating Controls for Precision
Steering Wheel and Pedals Alignment
Begin by installing your hardware manufacturer’s calibration suite—be it Logitech G Hub, Thrustmaster Control Panel, or Fanatec Command Center. Run the wizard to define precise end‑stop values for pedal travel and full rotational range for your steering wheel, ensuring that both throttle and brake pedals register clean, linear signals from 0 percent to 100 percent without dead zones. Equally important is verifying that your wheel returns to absolute center with minimal drift; even a few degrees of offset can translate to significant steering variance on track, eroding your consistency during high‑G cornering.
Next, select the appropriate steering lock preset to mirror your chosen vehicle’s real‑world steering ratio—900° for GT cars, 1080° for open‑wheel machines, or custom values for classic touring cars. Export and save these profiles within your sim’s control menu, then validate them in‑game by observing the telemetry overlay as you sweep through full lock turns. Periodic recalibration—especially after firmware updates or changes to belt tension—is recommended to preserve reproducibility and eliminate subtle control drift that could undermine your lap‑time objectives.
In‑Game Input Mapping
Within each sim’s control configuration, create or select a VR‑specific profile and map your wheel’s axes, pedal inputs, and handbrake to the corresponding in‑cockpit functions. Assign secondary actions—such as pit limiter, refueling radio, or camera toggles—to your Oculus Touch controllers or paddles, reducing reliance on keyboard shortcuts and maintaining both hands on the wheel. Precise mapping avoids accidental inputs during critical maneuvers and keeps your focus firmly on apexes rather than fumbling through menus.
For titles supporting gesture recognition, enable quick flicks or button flick actions that let you switch HUD elements or activate drag reduction systems without removing your hands from the controls. Always perform a validation lap to confirm there’s no overlap in bindings, and adjust deadzones or sensitivity curves in the sim’s options to account for any unintended controller jitter or hardware noise that might compromise steering fidelity.
Haptic and Force Feedback Optimization
Your wheelbase handles the primary force feedback, but the Quest 3’s integrated haptics can augment immersion by translating engine rumble and surface texture into subtle headset vibrations. In the Oculus PC app, increase the “Audio Haptics” slider to enhance low‑frequency feedback synchronized with tire slip events and engine idle. For a multisensory experience, combine this with a haptic vest or seat transducer to channel these cues into your torso, mirroring the physical sensations of lateral G‑forces through your seat.
Within your sim’s force feedback settings, adjust gain, spring strength, and damper levels to strike a balance between realism and unwanted oscillations. Excessive gain can cause steering wheel wobble on straights, while too little renders surface feedback indistinct. Iteratively tweak these parameters during practice sessions until the force feedback feels seamlessly integrated with your visual and auditory inputs, providing clear and consistent terrain information through every chicane and straightaway.

Fine‑Tuning Graphics and Performance
Refresh Rates and Resolution Strategy
Quest 3 supports 90 Hz and 120 Hz refresh rates, each with inherent trade‑offs between fluidity and GPU demand. In the Oculus PC application, select your target refresh rate—opt for 90 Hz if you seek a stable performance margin or 120 Hz if your GPU can sustain it. Then use the Render Resolution slider to boost pixel density: higher values deliver sharper visuals but consume more VRAM and GPU cycles, potentially pushing you below your target frame rate. Conduct benchmark runs in each sim to identify the optimal resolution setting that maintains locked frame rates without visual tearing or judder.
If your sim offers Dynamic Resolution Scaling, enable it to automatically downsample during graphically complex scenes, preserving your target refresh rate. This feature smooths out frame pacing by allowing the engine to adjust resolution on‑the‑fly, ensuring that both visual acuity and motion fluidity remain consistently high, even when navigating richly populated circuits or weather effects.
Balancing Visual Quality Settings
Within each title’s graphics menu, prioritize medium-to-high settings for textures, shadows, and reflections, while tempering ultra‑heavy effects like ambient occlusion and screen‑space reflections that disproportionately tax the GPU. Shadows and particle effects often impose the greatest performance penalty; dialing these back slightly can yield a substantial FPS uplift. Use the Oculus Debug Tool—bundled with the PC app—to override in‑game supersampling or to apply fixed pixel density multipliers, offering granular control over VRAM allocation and render pipeline throughput.
Regularly monitor performance metrics via MSI Afterburner or the SteamVR performance overlay, focusing on frametime consistency rather than absolute FPS numbers. Aim for GPU utilization below 90 percent to accommodate sudden spikes in scene complexity—such as dense foliage or dynamic lighting—without dropping frames that could trigger reprojection, which may introduce perceptible latency artifacts.
Ensuring Consistent Frame Delivery
Stable frame timing is vital to prevent judder and motion sickness during high‑velocity head movements. Enable Adaptive Sync or FreeSync on your display if available, allowing the monitor to match its refresh cycle to the GPU output. In the Oculus Debug Tool, activate Motion Smoothing (also known as Asynchronous Spacewarp) to reproject intermediate frames when your GPU momentarily cannot sustain the target refresh rate, preserving perceived motion fluidity.
On a wired Link connection, disable resource‑throttling features like Windows Game Mode and background optimizations to dedicate maximum CPU and GPU resources to your sim. Close non‑essential applications—web browsers, streaming utilities, or system updaters—to eliminate context‑switching interruptions during competitive racing. For additional stability, consider overclocking your GPU with a modest core clock boost and an optimized fan curve to reduce thermal throttling under sustained loads.

Configuring Your PC and Software Ecosystem
Installing Oculus App and Drivers
Begin by downloading the latest Oculus PC installer from Meta’s official site and execute the setup on Windows 10 or 11. Allow the application to fetch and install headset firmware updates, USB drivers, and graphics optimizations. After connecting your Quest 3 via a high‑quality USB‑C or USB 3.2 cable, confirm that “Quest 3” appears in Device Manager free of warning icons. In the Oculus app’s General settings, enable “Allow Unknown Sources” and “Use USB for Link” to permit third‑party applications—such as SteamVR—to interface seamlessly with the headset.
Additionally, review the Oculus Beta channel for early access to performance enhancements and passthrough refinements that can further elevate your sim racing experience. Participate in community feedback forums to report any anomalies, ensuring that future updates address emerging needs in the competitive VR racing sphere.
Integrating with SteamVR and Racing Titles
For access to a broader range of titles and community mods, leverage SteamVR alongside the Oculus PC app. With your headset connected via Link, launch SteamVR from the Oculus interface and verify that your wheel, pedals, and controllers register under SteamVR’s Devices panel. Then start your sim racing title—Assetto Corsa, iRacing, rFactor 2—from Steam’s library to utilize Steam’s overlay, workshop integration, and community content.
Within SteamVR’s settings, adjust application-specific resolution multipliers and reprojection flags to align with your hardware capabilities. In each sim’s VR menu, select the VR profile you configured earlier and import your control calibration settings. This dual‑application workflow ensures you benefit from Oculus’s low‑latency optimizations while tapping into Steam’s vast ecosystem of user‑generated content and competitive leaderboards.
Wireless vs Wired Connectivity Options
Wireless streaming via Virtual Desktop unleashes full-range movement unencumbered by cables, but introduces compression artifacts and marginally higher latency. To optimize performance, connect your PC via Ethernet, place the Quest 3 on a dedicated 5 GHz Wi‑Fi 6 access point, and minimize signal interference by disabling adjacent channels. Tweak Virtual Desktop’s bitrate and frame rate settings to strike a balance between visual clarity and responsiveness, aiming for a steady stream above 90 FPS.
Conversely, a wired connection using the official Oculus Link cable or a certified USB 3.2 Gen 1 cable delivers an uncompressed video feed with the lowest possible latency—crucial for competitive sim racing where split‑second reactions matter most. Although it restricts head mobility, wired Link remains the gold standard for minimizing input lag and preserving maximum image fidelity under the most demanding racing scenarios.

Mounting and Physical Integration
Securing the Headset to Your Cockpit
Stable headset positioning is paramount when whipping through fast corners. Replace the stock halo strap with an aftermarket harness or custom mounting bracket that clamps directly to your rig’s frame. This prevents headset wobble and maintains immersion by ensuring the virtual horizon remains aligned with your physical cockpit, even during aggressive head turns. Many sim rig manufacturers—such as Playseat, Next Level Racing, and Trak Racer—offer dedicated VR mounts engineered to resist vibration and minimize flex.
If you prefer a DIY solution, craft an L‑bracket from aluminum extrusion, line it with closed‑cell foam, and secure it at eye level on your wheel stand. Verify that the bracket does not impede full steering rotation or collision with your shifter or handbrake. Properly engineered mounts provide the dual benefit of consistent head tracking and the ability to quickly detach the headset for non‑racing VR use.
Rig Alignment and Virtual Origin Setup
Achieving congruence between your physical controls and the virtual environment requires precise origin alignment. Position the headset’s tracking origin directly above your wheel hub’s geometric center and measure the eye‑to‑hub distance with a laser rangefinder or tape measure. In your sim’s cockpit adjustment settings, set camera height and forward offset to match these measurements, ensuring that steering inputs and head movements correlate perfectly with in‑game actions.
Remove overhead cables or monitor supports that could intersect with the headset during rapid head sweeps. Use Velcro cable ties to route any necessary wiring neatly along the rig’s frame, preserving unobstructed tracking volume and reducing the risk of accidental disconnections mid‑race.
Cable Management and Mobility
Even a single cable can snag during spirited racing. Employ a ceiling‑mounted pulley system or retractable spring‑loaded reel to suspend your Link cable overhead, granting freedom of movement without tangles. This arrangement ensures the cable follows your head, rather than restricting it, and dramatically reduces the risk of accidental pulls that could disrupt your session.
Alternatively, opt for long, flexible USB 3.2 certified cables with braided sheaths to prevent kinking and shield against electromagnetic interference. Secure any excess length behind your seat using cable anchors or zip ties, keeping it out of your way while preserving signal integrity for consistently stable performance.

Comfort and Sensory Enhancements
Ergonomic Fit and Weight Distribution
Sim racing sessions can extend for hours, placing undue strain on neck and facial muscles if the headset isn’t balanced correctly. Adjust the top and side straps to distribute weight evenly across the skull, reducing pressure hotspots around the brow and cheeks. For heavier aftermarket lenses or additional accessories, consider adding a small counterweight to the rear strap, which helps prevent forward tilt and keeps your virtual horizon stable during quick glances at apex markers.
Swap the stock facial interface for foam or silicone replacements designed to wick sweat and reduce friction. These third‑party interfaces often feature modular spacers that accommodate glasses wearers and provide improved airflow. Plan regular breaks every 60–90 minutes to relieve ocular strain, perform neck stretches, and readjust the headset fit before returning to the next stint.
Audio Systems and Spatial Sound
High‑fidelity audio cues are critical in sim racing, where engine pitch and tire squeal inform your cornering and shift timing. While the Quest 3’s built‑in spatial audio renders a convincing soundstage, dedicated over‑ear headphones typically offer superior detail and bass response. For wired connections, use a USB digital‑to‑analog converter (DAC) or the 3.5 mm jack with a premium splitter to maintain low latency and stable volume. Adjust in‑game audio mixing to balance engine, environmental, and collision volumes so that you never miss an essential mechanical or situational cue.
If you prefer wireless freedom, choose low‑latency codecs such as aptX LL on compatible headphones or earbuds. Ensure your Bluetooth transmitter supports these codecs and position it within line‑of‑sight of your headset to minimize packet loss. Fine‑tune the sim’s audio sliders—environment, engine, gearbox—to dial in the perfect mix that complements your force feedback and haptic sensations.
Break Protocols and Physical Well‑Being
Extended VR sim racing places both cognitive and biomechanical demands on your body. Incorporate micro‑breaks into practice and race sessions by scheduling brief pauses every 45–60 minutes. During these intervals, perform neck rotations, shoulder rolls, and wrist stretches to maintain circulation, reduce muscle stiffness, and prevent repetitive strain injuries. These micro‑breaks not only support physical well‑being but also sharpen mental focus for the next stint.
Hydration is equally important—dehydration can impair concentration and reaction time. Keep a water bottle within easy reach and practice deep‑breathing exercises during pit stops to alleviate ocular fatigue and promote overall relaxation. By integrating structured rest protocols, you’ll sustain peak performance throughout endurance races and preserve long‑term comfort.
Intelligence Author
Gerald Ferreira
Pioneering South Africa's XR landscape for over 25 years, we transform global immersive trends into actionable innovation for the Mother City and beyond.
More From Virtual Reality
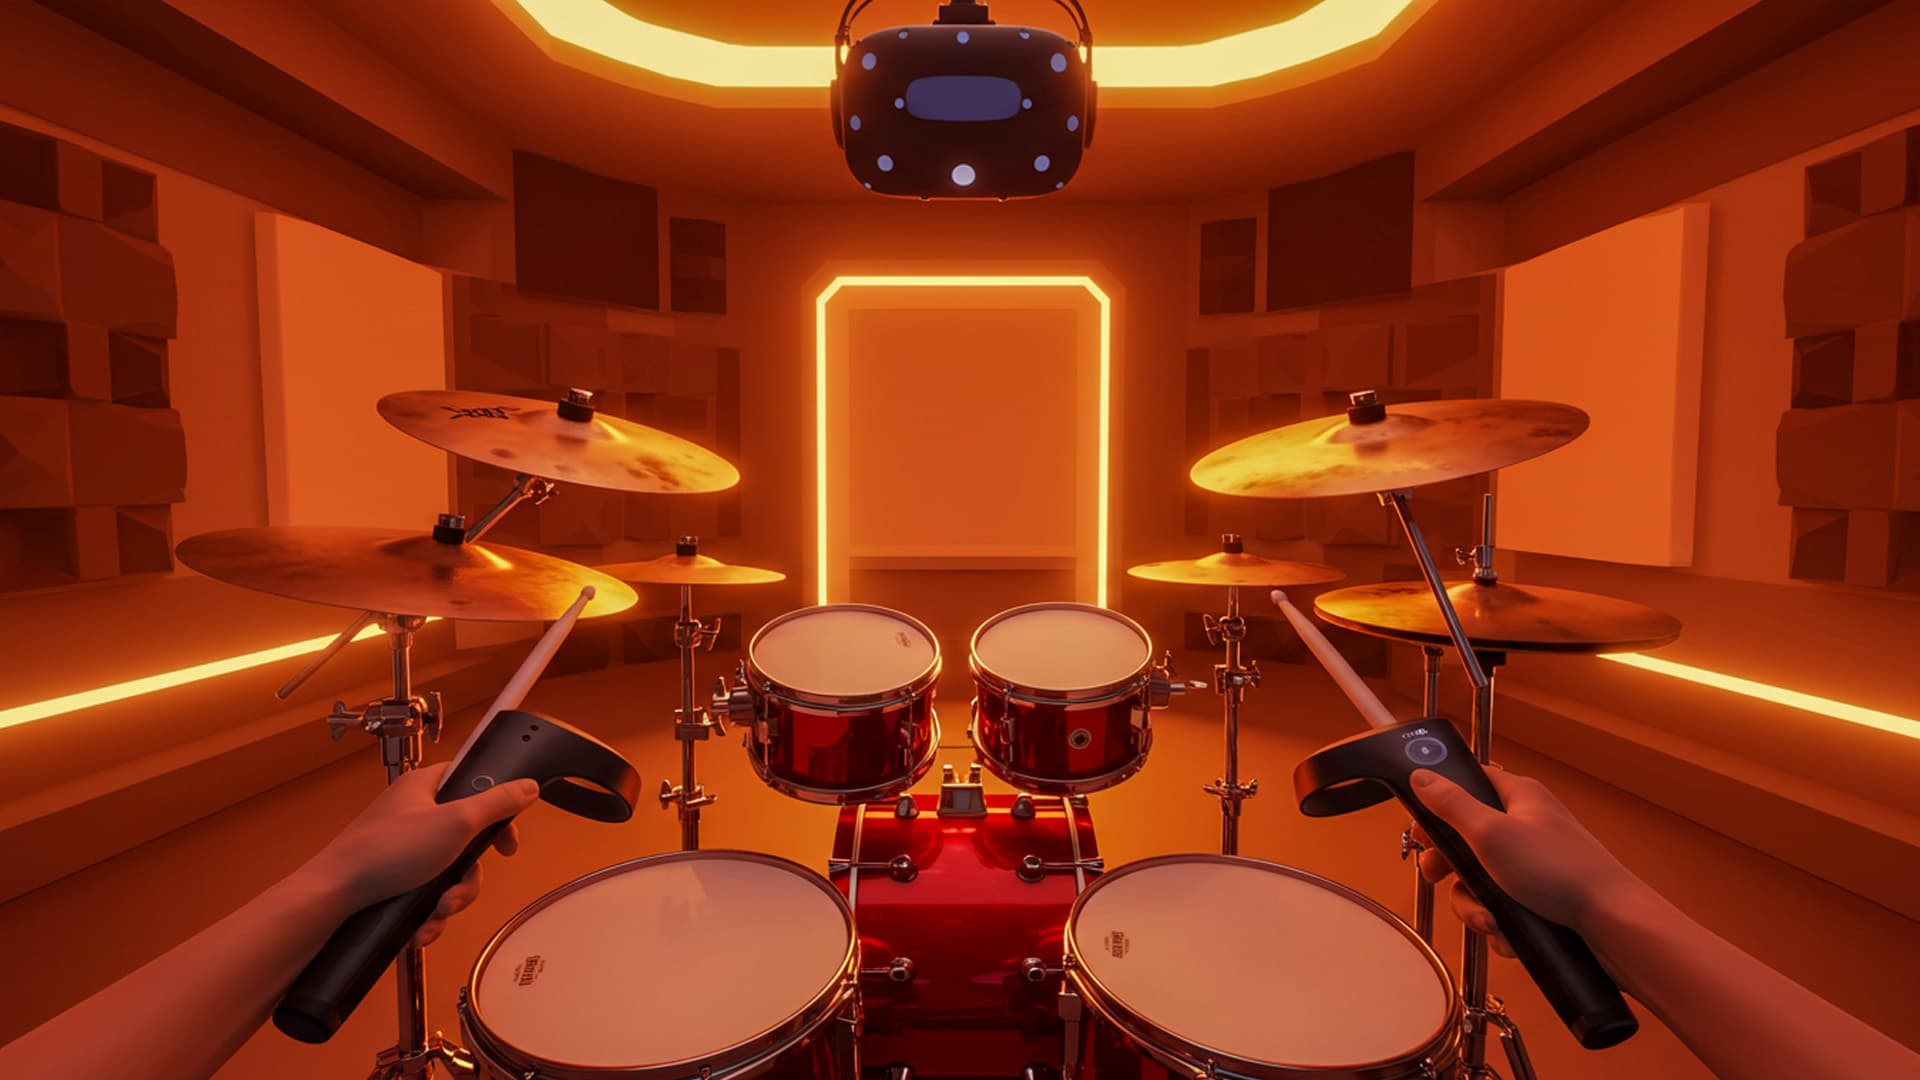
Making Music in VR with Patchworld
A Glimpse into Spatial Music Creation on Meta Quest 3 Put on a Meta Quest 3, boot up Patchworld, and the studio dissolves into a cathedral of...
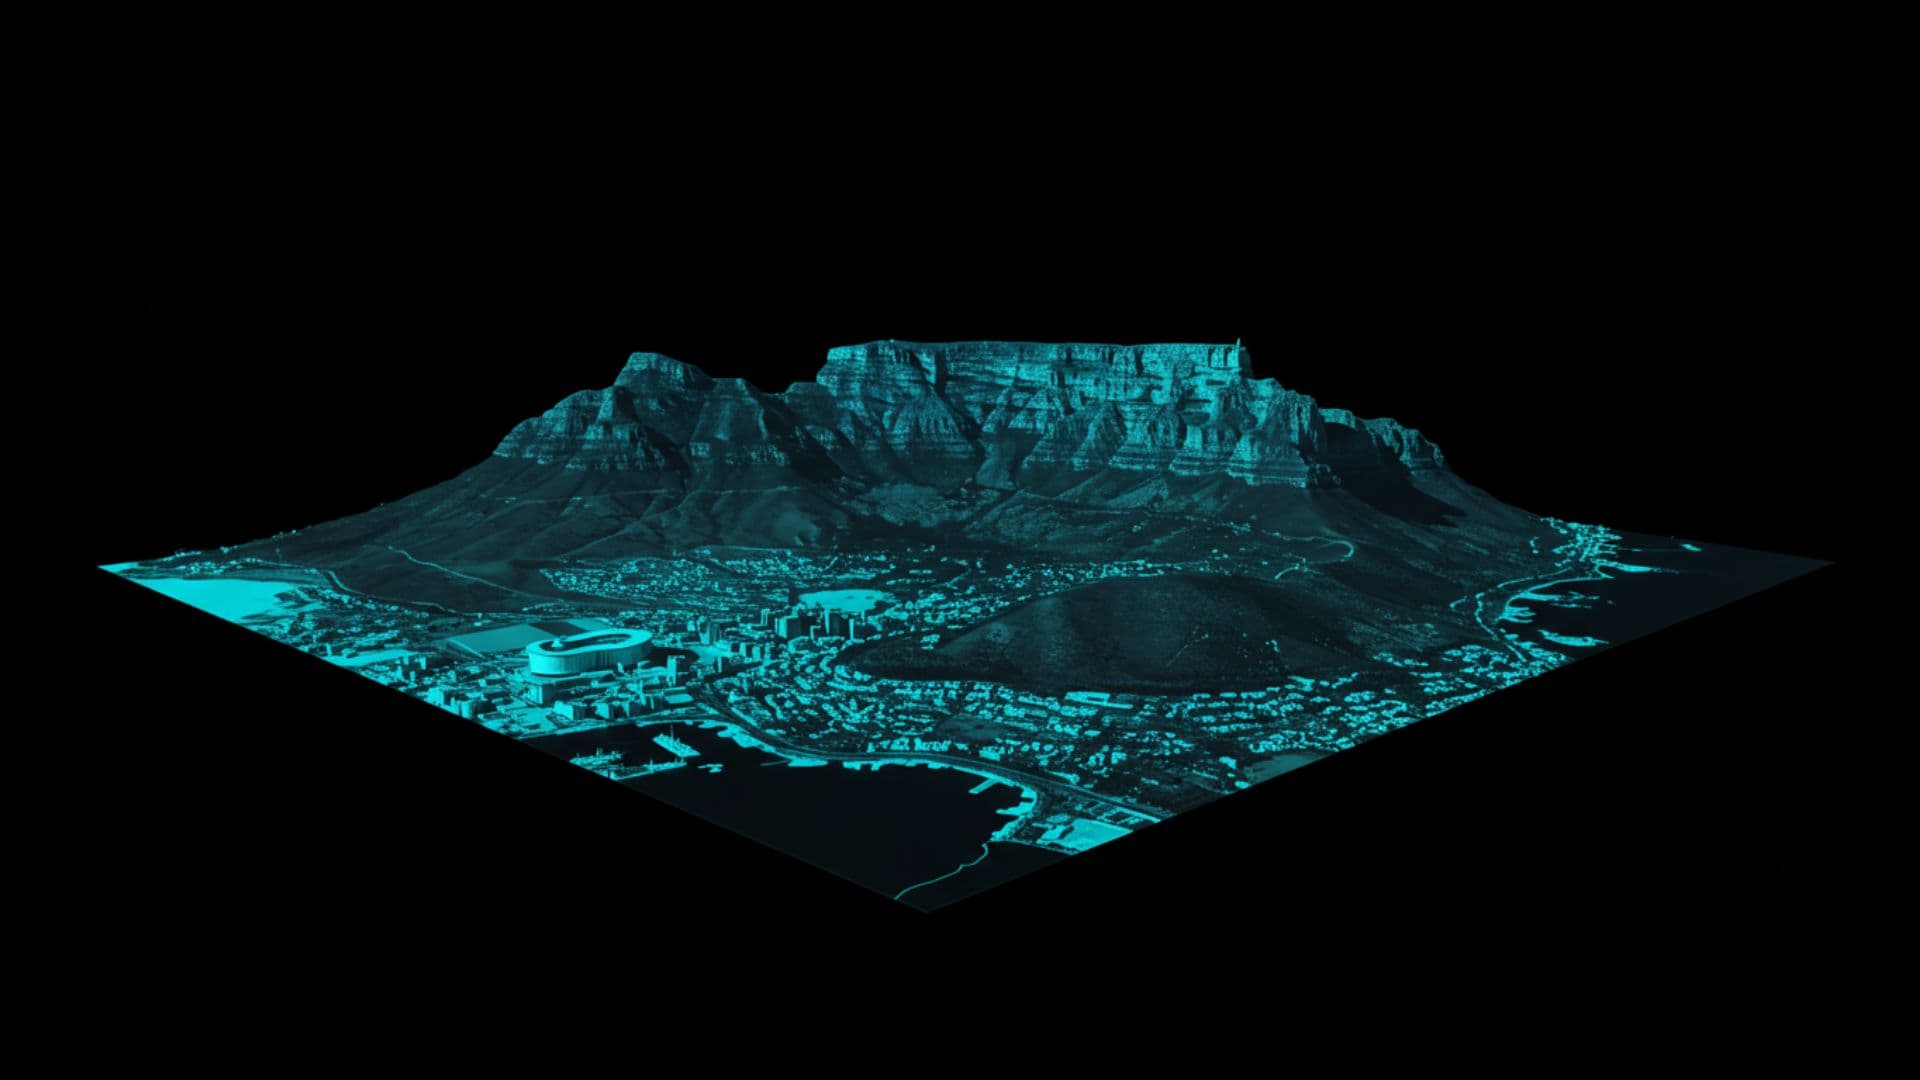
Revolutionizing Experiences: Virtual Reality in Cape Town
How Immersive Technologies Are Transforming Tourism, Education, and Culture in the Mother City Virtual reality (VR) is rapidly reshaping Cape...

Bigscreen Beyond 2 Sets a New Standard in Immersive Technology
Enter a Realm Where Visual Precision and Ergonomic Excellence Converge The Bigscreen Beyond 2 reimagines virtual reality by fusing...

The Role of Machine Learning in Advancing VR Technologies
How Machine Learning is Revolutionizing Virtual Reality for Enhanced Experiences Imagine stepping into a virtual world where every movement you...

Top VR Games in 2025: Jurassic World, Red Matter, A Township Tale, Until You Fall, and Demeo
Discover the Most Anticipated Games of 2025 Transforming the Gaming Landscape As the gaming landscape evolves, 2025 promises to be a landmark year...

Virtual Reality and Space Exploration: Training Astronauts and Simulating Missions
Harnessing the Power of Virtual Reality to Propel Humanity into the Final Frontier Space exploration has always been a testament to human...
READY TO TRANSCEND?
Contact Virtual Reality Cape Town today and discover how we can transform your digital strategy through immersion.